Quartz countertops have quickly become a favorite in home decoration in recent years. Not only do they provide a stylish and modern look, they have also won the favor of countless families with their excellent durability and low maintenance requirements. However, the installation of quartz countertops is not as simple as buying a new table. It involves multiple professional skills and precise measurement work. Understanding the steps involved in the installation standards of quartz countertops enables homeowners to make an informed decision, whether you choose to handle the project yourself or hire a professional.
In order to help everyone better understand and complete the installation of quartz worktops, we have specially compiled this complete installation guide. If you are considering installing quartz worktops for your home, then this article will be your indispensable reference guide. We will go into detail about the preparations before installation, every step in the installation process, and the difference between DIY and professional installation, helping you make an informed decision in the process.
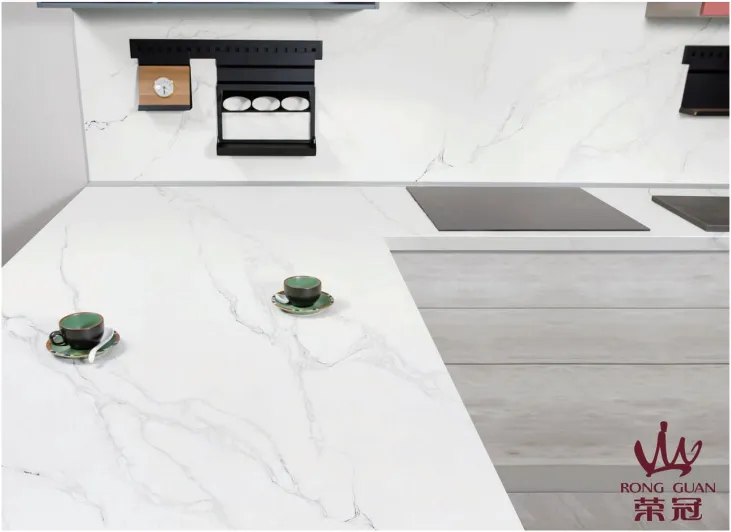
Before installation: Preparations before installing quartz countertops
Before you start installing quartz countertops, you must do sufficient preparations. This will not only ensure that the installation process goes smoothly, but also avoid unnecessary problems and additional costs.
Measure Accurately
First and foremost, the most important preparation is to take accurate measurements. Quartz countertops need to be cut and machined to the specific dimensions of your kitchen or bathroom, so accurate measurements are essential. You’ll need to measure the length, width, and depth of all relevant areas, and note any special areas that need to be cut, such as the location of sinks, stoves, or pipes.
Get Your Tools
Before installing your quartz countertop, you’ll need to prepare some necessary tools and materials. These tools include, but are not limited to:
● Tape measure
● Level
● Power saw
● Adhesive (such as epoxy or silicone)
● Safety gear (such as gloves, goggles)
Make sure all your tools and materials are ready so that you don’t have to stop midway to find or purchase additional tools during the installation process.
Clean Your Workspace
Installing quartz worktops requires a clean, flat workspace. Therefore, before installing, thoroughly clean your workspace and remove any obstructions and debris. Make sure the cabinets under the countertop are securely fastened and that the surface is flat and free of dents. This step may require specialized tools and should be done methodically to avoid complications during the new installation.
Remove Plumbing
Before installing your quartz worktop, your installer will disconnect and remove all plumbing fixtures, such as sinks and faucets. This step prevents any interference with the assembly process and allows for precise placement of the quartz worktop. It is also important to ensure that the water supply lines are capped to avoid leaks.
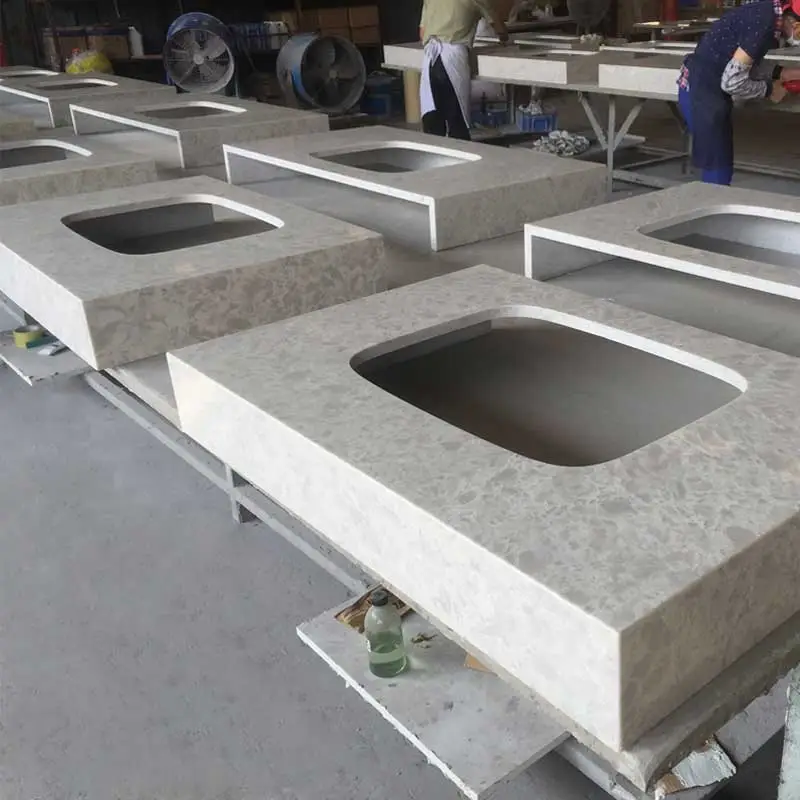
Quartz Countertop Installation Process: A Step-by-Step Guide
Once the preparatory work is complete, the installation process of your quartz countertop can begin. Below is a detailed step-by-step guide to help you through the installation.
Step 1: Preliminary Placement
First, place the quartz countertop in the intended location. No fixing is required at this point, just make sure the countertop is roughly in the right position for further adjustments and measurements.
Step 2: Check Level
Use a level to check the level of the quartz countertop. If you find any uneven spots, you need to make adjustments. You can ensure that the countertop is level by adding shims on top of the cabinets or adjusting the cabinet height.
Step 3: Cut and Adjust
Based on the previous measurements, make the necessary cuts and adjustments to the quartz countertop. If a hole is required, such as to make room for a sink or stove, a power saw should be used to make precise cuts. Always wear safety gear during the cutting process to ensure safety. Cutting quartz countertops requires precision and expertise. All quartz countertop installation companies will ensure that the quartz countertop is measured to your kitchen dimensions, including allowances for sink cutouts and edges. Regardless of the countertop material you use, this step is critical and is best handled by a professional to avoid costly mistakes and ensure a perfect fit.
Step 4: Gluing and Securing
Once the countertop is in place and all necessary cuts have been made, it is time to glue and secure it. Use epoxy or silicone to secure the countertop to the cabinet. Apply the adhesive evenly, making sure every corner and edge is firmly bonded. Then, gently place the countertop on the cabinet to ensure it is firmly secured.
Step 5: Cleaning and Inspecting
Finally, clean the surface and edges of the countertop to ensure that no excess adhesive remains. At the same time, perform a thorough inspection to ensure that all parts are firmly secured and there are no loose or unbonded areas.

The Difference Between DIY and Professional Quartz Countertop Installation
When installing quartz countertops, you may be faced with a choice: do it yourself (DIY) or hire a professional. So, what are the differences between DIY and professional installation?
DIY installation
The main advantage of DIY installation is cost savings. You only need to pay for materials and tools, not expensive labor costs. However, DIY installation also has its disadvantages. First, the installation of quartz countertops requires precise measurement and cutting, and it is easy to make mistakes if you don't have experience. Secondly, quartz countertops are relatively heavy, and the handling and installation process requires a certain amount of physical strength and skills.
Professional installation
Although it is more expensive to hire professionals for installation, they have rich experience and professional tools to ensure that the installation process goes smoothly. Professional installation is usually faster and more efficient, and can avoid additional costs caused by installation errors. In addition, many quartz countertop suppliers also provide installation warranty services to provide you with additional protection.
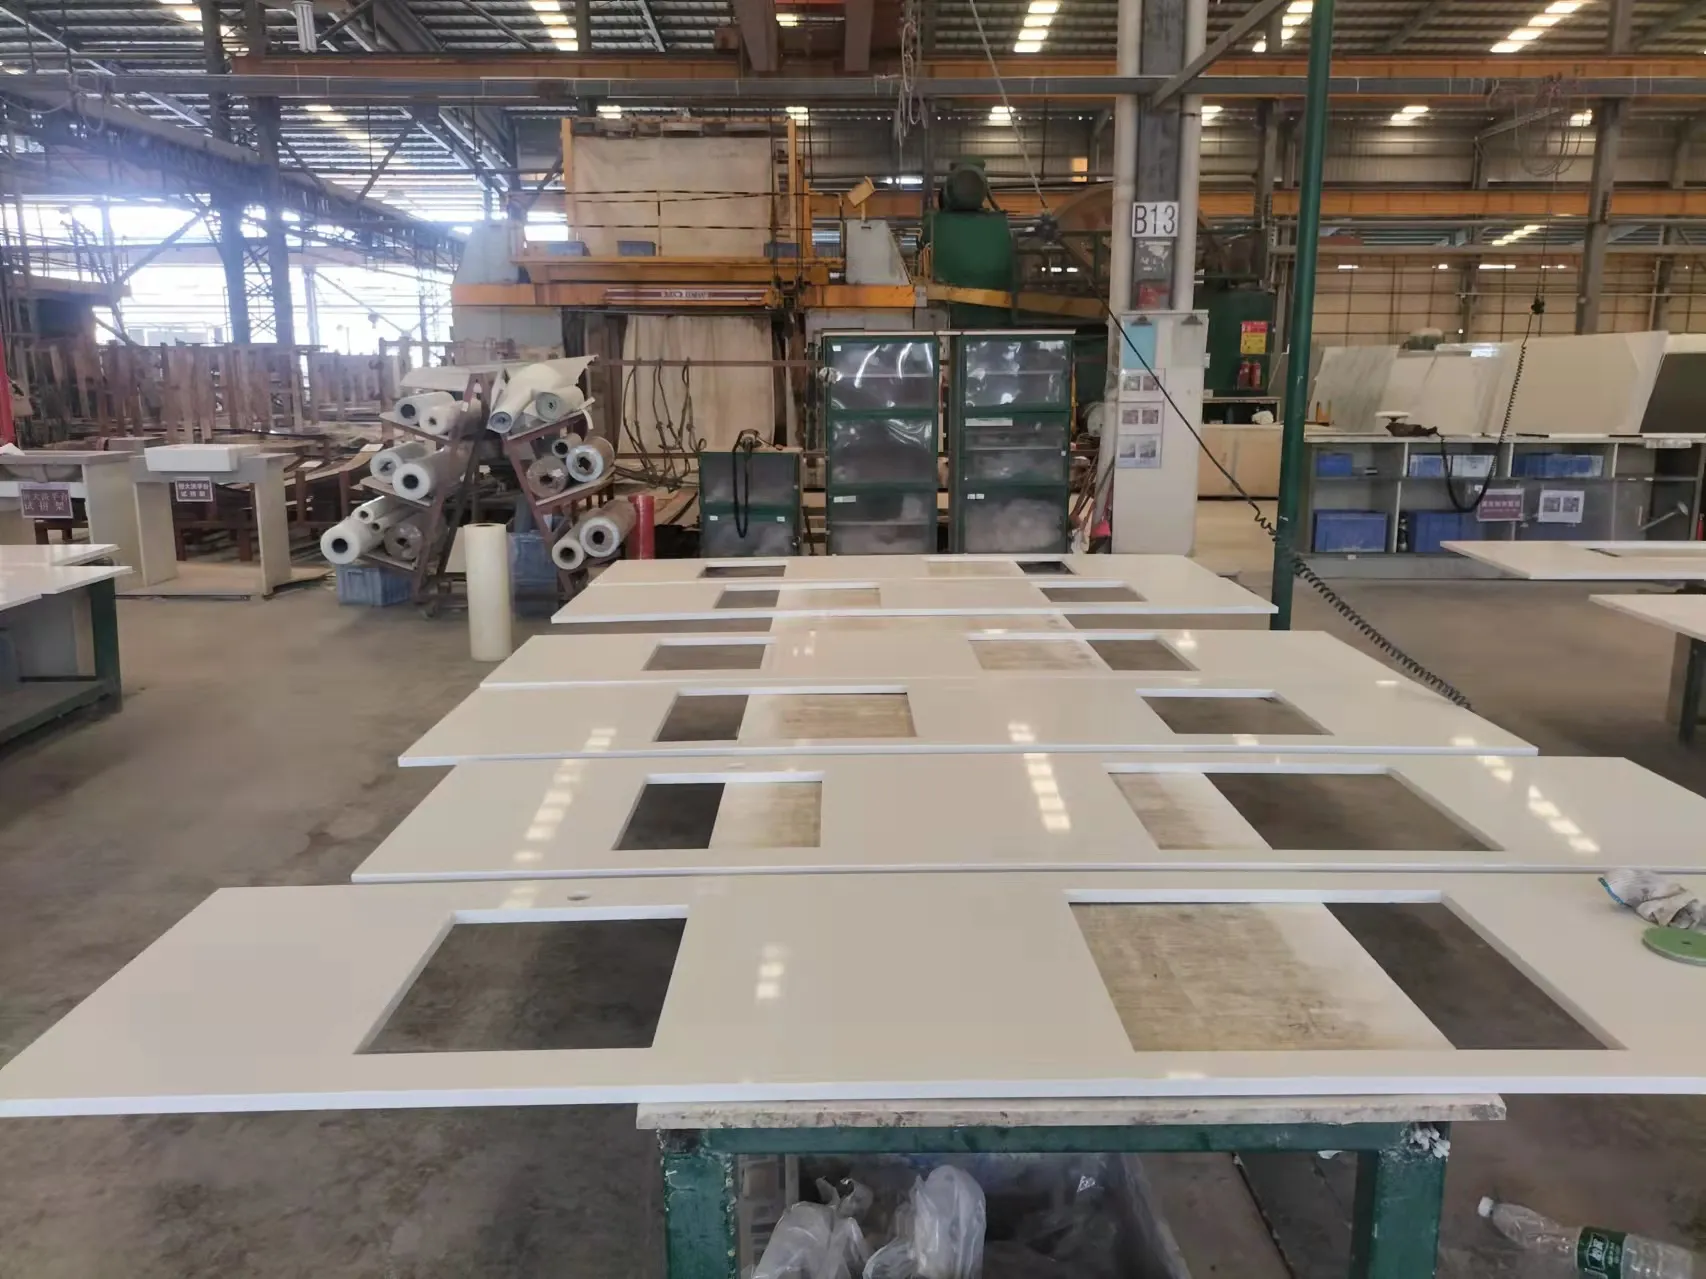
How long after the quartz countertop is installed can it be used?
After the quartz countertop is installed, it takes a certain amount of time for the adhesive to fully cure. Usually, the adhesive takes 24 to 48 hours to cure. During this period, avoid placing heavy objects on the countertop or performing any heavy operations to avoid affecting the bonding effect. During the curing period, the countertop should be handled and moved as little as possible to ensure that the adhesive can fully work. After curing is complete, the countertop can be used normally. However, to ensure the best results, it is recommended to avoid strenuous kitchen activities within a week after installation.
What happens during the installation of quartz worktops?
The most challenging part of the installation process may be cutting and opening the quartz worktop. Since quartz is a very hard material, it requires the use of specialized cutting tools and techniques. The cutting process may produce a lot of dust, so it is recommended to be carried out in a well-ventilated environment and wear a mask and goggles. During the bonding and fixing phase, make sure the countertop is positioned correctly and the adhesive is evenly applied. The fixing process may require the cooperation of more than one person to ensure that the countertop is placed smoothly on the cabinet.
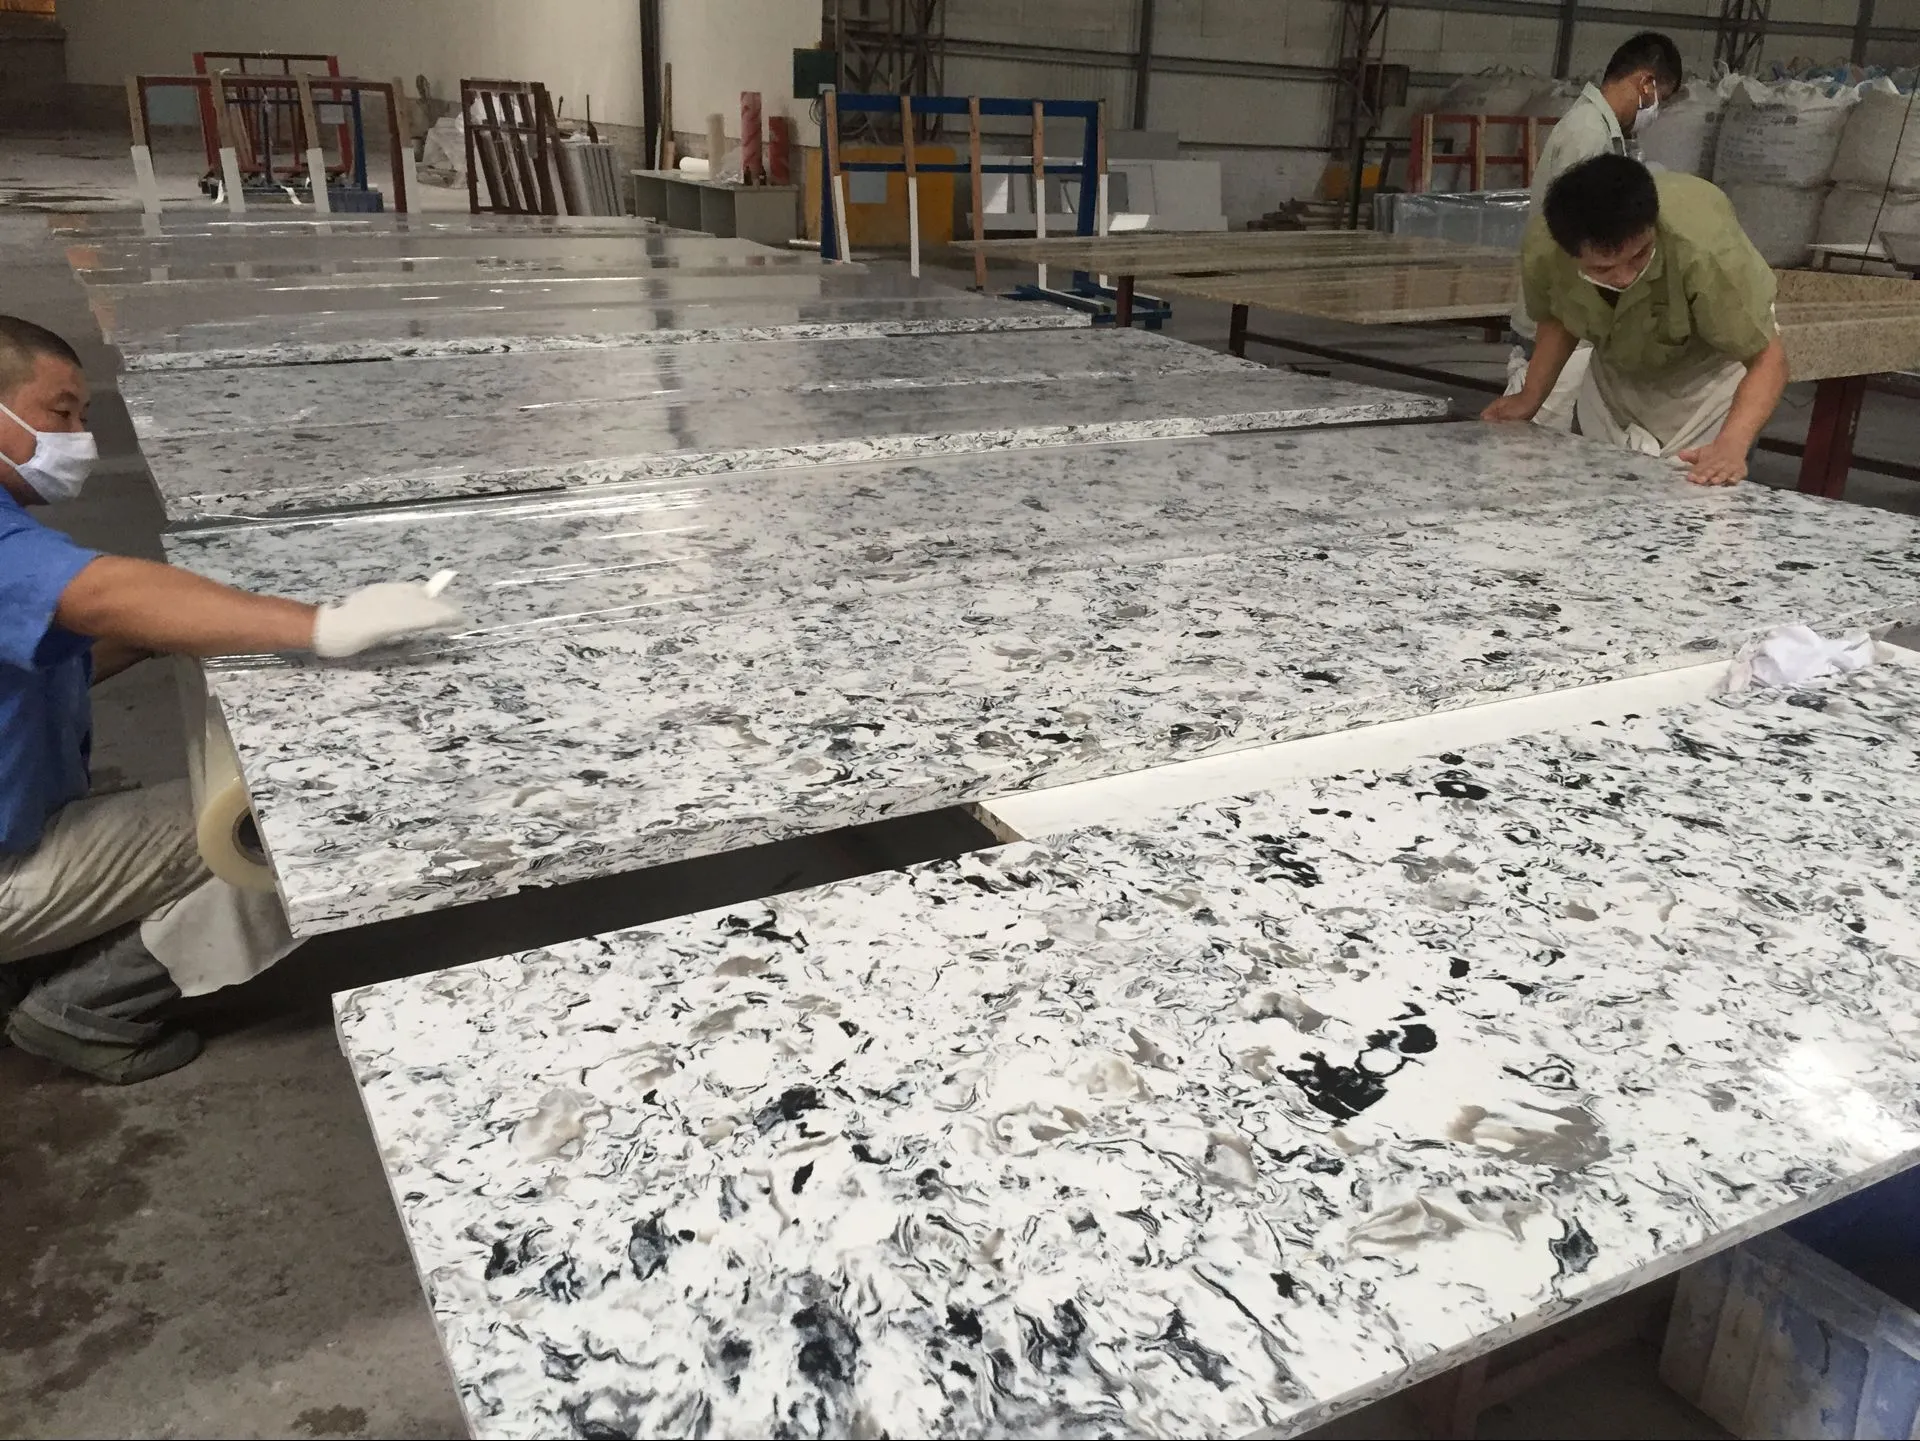
How long does it take to install a quartz worktop?
The installation time of quartz worktops varies from case to case, and generally, the complete installation process takes one to two days. The preparation phase, including measuring, tool preparation and work area cleaning, usually takes several hours. The actual installation phase, including cutting, bonding and fixing, usually takes one day. During this time, make sure each step is done accurately to avoid any problems. The curing stage of the adhesive usually takes 24 to 48 hours. During this period, the countertop should be touched and moved as little as possible to ensure the bond is effective.
What is the average price of installing a quartz countertop?
Generally speaking, the installation price of a quartz countertop includes materials and labor. The material cost of a quartz countertop is usually between $50 and $150 per square foot, depending on the quality and brand of the quartz. If you choose a professional installation, the labor cost is usually between $20 and $50 per square foot. The specific price depends on the complexity of the installation and the experience level of the installer.
Taking into account the material cost and labor cost, the total cost of installing a quartz countertop is usually between $70 and $200 per square foot. For a standard kitchen, the total cost of installing a quartz countertop may be between $2,000 and $6,000.

Summary of installing a quartz worktop
Although the installation of a quartz worktop is complicated, you can complete this task with adequate preparation and detailed step-by-step instructions. Whether you choose DIY or hire a professional, understanding every detail of the installation process can help you make the best decision in your kitchen renovation.
I hope this guide can provide you with comprehensive help and make your kitchen look new and glorious.

