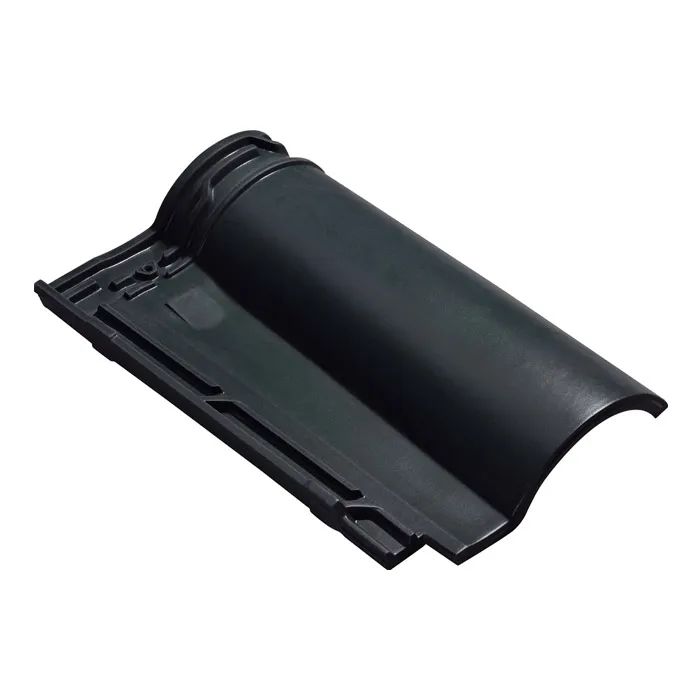
Clay roof tiles are widely popular for their beauty, durability and excellent waterproof performance. However, installing gutters (also known as rain gutters) on a clay tile roof is a task that needs to be handled with caution, as improper operation may damage the tiles and affect the waterproof performance of the roof.
This article will introduce in detail how to install gutters on a house with clay roof tiles, including the required tools, installation steps and precautions, to help you complete this task safely and efficiently.

Preliminary preparation
1. Determine the type of gutter
Choose the appropriate type of gutter according to the structure and aesthetic requirements of the house. Common gutter materials include aluminum, copper, galvanized steel and PVC. Each material has its advantages and disadvantages and needs to be selected according to actual conditions.
2. Measurement and planning
Accurately measure the length and height of the eaves and calculate the total length of the gutter and downspout. Plan the installation position and slope of the gutter according to the measurement results to ensure that rainwater can flow smoothly into the downspout.
3. Prepare tools and materials
The tools and materials required include: tape measure, level, pencil, ladder, saw, drill, screwdriver, sealant, gutter hook, connector, downspout, nails or screws, etc.

Installation steps
1. Install gutter hook
Gutter hook is used to support the gutter and ensure its stability. The hook should be installed on the wooden beam of the eaves, with a spacing of about 30-40 cm.
Steps:
● Use a tape measure and pencil to mark the installation position of the hook under the eaves.
● Use a drill to drill holes at the marked position, making sure that the holes match the hook screws.
● Use screws to fix the hook to the wooden beam, making sure that the height difference between each hook meets the planned drainage slope.
2. Prepare the gutter
According to the measurement results, cut the gutter to ensure that its length matches the length of the eaves. If the gutter is long, you need to use connectors to connect multiple gutter sections.
Steps:
● Use a saw to cut the gutter to the required length.
● Use connectors to connect the gutter sections, making sure that the joints are firmly sealed.
● Check the integrity of the gutter to ensure that there are no cracks or defects.
3. Install the gutter
Place the prepared gutter on the hook and fix it with screws or nails.
Steps:
● Place one end of the gutter on the hook and gradually place the entire gutter in the direction of the eaves.
● Use screws or nails to fix the gutter on the hook, making sure that each connection point is firm.
● Check the slope of the gutter with a level to ensure that rainwater can flow smoothly into the downpipe.
4. Install the downpipe
The downpipe is used to guide the rainwater collected by the gutter to the ground or the drainage system.
Steps:
● Install the downspout at the low end of the gutter, making sure it matches the downspout.
● Cut the downspout to the appropriate length according to the planned location.
● Connect the downspout to the downspout and fix the downspout with screws or nails to ensure that it is firm.
● Install the elbow at the bottom of the downspout to ensure that rainwater can be discharged smoothly to the ground or the drainage system.

Precautions
1. Safety measures
When working at heights, safety measures must be taken to ensure personal safety. Use a stable ladder and make sure the ladder is placed on a stable ground. Wear a safety belt and non-slip shoes to avoid slipping or falling.
2. Protect roof tiles
During the installation process, damage to clay tiles should be avoided. Try to avoid excessive pressure on clay tiles. If necessary, use wooden boards or mats to disperse the pressure.
3. Waterproofing
At the junction of the gutter and the eaves, use sealant to seal the clay tiles to prevent rainwater leakage. At the same time, check the gutter joints and downspout interfaces to ensure that all connection points are sealed.
4. Regular maintenance
After the installation is completed, the gutter should be checked and cleaned regularly to ensure that it is unobstructed. Clean up debris such as accumulated leaves, mud and sand to prevent the gutter from clogging and affecting the drainage effect.
Installing gutters on houses with clay roof tiles is a highly technical job that requires careful planning and professional operation. By choosing the right type of gutter, accurately measuring and planning, using the proper tools and materials, and following the correct installation steps, you can ensure your gutter is secure and functional.

